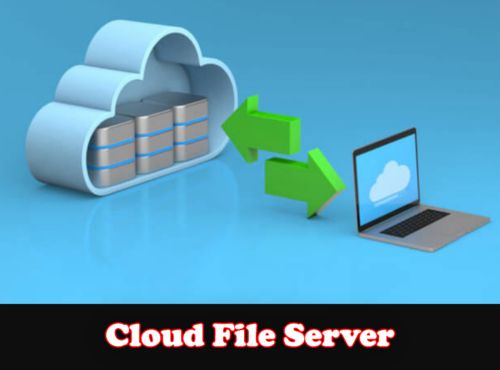
Cloud File Server – In the modern era of digitalization, setting up a cloud file server is crucial for businesses and individuals who need reliable and scalable storage solutions.
Cloud file servers offer the advantage of accessibility, security, and collaboration, making them ideal for remote work environments and data management.
This step-by-step guide will walk you through the process of setting up a cloud file server effectively.
How to Set Up a Cloud File Server: A Step-by-Step Guide
Step 1: Choose the Right Cloud Service Provider
The first step in setting up a cloud file server is selecting a cloud service provider. Popular options include:
- Amazon Web Services (AWS)
- Google Cloud Platform (GCP)
- Microsoft Azure
- Dropbox Business
- Box
Consider factors such as pricing, storage capacity, security features, and ease of use when making your decision. AWS, GCP, and Azure are known for their robust infrastructure and scalability, while Dropbox Business and Box offer user-friendly interfaces and excellent collaboration tools.
Step 2: Create an Account and Set Up Billing
Once you’ve chosen a provider, create an account on their platform. Follow these steps:
Sign Up: Visit the cloud provider’s website and sign up for an account. You may need to provide personal information and a valid email address.
Verify Email: Check your email for a verification link from the provider and click it to verify your account.
Set Up Billing: Enter your billing information to activate your account. Many providers offer a free tier or trial period, but a credit card is usually required for verification purposes.
Step 3: Create a Storage Bucket or Instance
After setting up your account, you need to create a storage bucket or instance to store your files. The terminology may vary depending on the provider:
- AWS: Create an S3 bucket.
- GCP: Create a Cloud Storage bucket.
- Azure: Create a Blob Storage container.
- Dropbox/Box: Set up a new folder or directory.
Steps for AWS S3 (example):
Navigate to S3: Go to the AWS Management Console and select S3 from the services menu.
Create Bucket: Click “Create bucket” and enter a unique name for your bucket. Choose the appropriate region and configure any additional settings such as versioning and encryption.
Set Permissions: Configure access permissions to control who can access your files. AWS provides options for public access, private access, or specific user permissions.
Step 4: Upload Files and Configure Access
With your storage bucket or instance ready, you can start uploading files and configuring access controls:
- Upload Files: Use the provider’s web interface or command-line tools to upload files to your cloud storage. Most providers support drag-and-drop functionality for easy uploads.
- Set Permissions: Define who can access your files. This can be done at the file or folder level. For example, you can make files public, restrict access to specific users, or require authentication for access.
- Generate Access Links: If you need to share files with others, generate access links. These links can be time-limited or password-protected to enhance security.
Step 5: Integrate with Applications and Services
To maximize the utility of your cloud file server, integrate it with other applications and services:
Collaboration Tools: Integrate with tools like Slack, Microsoft Teams, or Google Workspace to streamline collaboration and file sharing.
Backup Solutions: Set up automated backups to ensure your data is always safe.
APIs: Use APIs provided by your cloud service to develop custom applications or integrate with existing systems.
Step 6: Monitor and Manage Your Cloud File Server
Effective management and monitoring are key to maintaining a cloud file server:
Monitor Usage: Use your provider’s monitoring tools to track storage usage, access patterns, and performance metrics.
Set Alerts: Configure alerts for unusual activities or when nearing storage limits.
Review Security Settings: Regularly review and update your security settings to protect against unauthorized access and data breaches.
Conclusion
Setting up a cloud file server is a straightforward process that offers numerous benefits, including accessibility, scalability, and enhanced collaboration.
By following this step-by-step guide, you can establish a reliable cloud file server tailored to your needs. Whether you choose AWS, GCP, Azure, Dropbox, or Box, the key is to understand your requirements, select the right provider, and implement best practices for security and management.
Embrace the power of cloud storage to boost your productivity and ensure your data is always within reach.
